Mac Os X 10.8 Download Vmware
Previously in my class, i had this effect where as we accept not plenty Apple Mac laptop for participants to feel the usage of Mac OSX, so the easiest manner is to virtualize Mac OSX on VMware, so on this Blog post this time lets become through a step by step how you lot tin virtualize Mac OSX using VMware Workstation 9 @ 10 in Windows Server 2012 and what you need to get things started…
Before we get started, you will demand to download few files to brand sure the procedure go through without any hiccup.
Files yous volition need:
1 – Mac Os X ten.8 Installation Files (delight download yourself)
ii – VMware Workstation 9 (i'm very sure you know where to go this…)
three – dmg2img
4 – VMware Unlocker 1.3.0
5 – VMware tools from Fusion
** items three,4,5, delight download from this link : http://www.mediafire.com/download/o1kea288j1w5xhw/mizitechinfo_-_Mac_OSX_VMware_files.rar
—————————————————————————————————————————————————————
1 – Install VMware on your System (PC @ Laptop)
– Brand certain you uninstall Hyper-V if you are running Windows Server 2012 with Hyper-V installed
– You cannot have Hyper-V and VMware Workstation installed on the same machine
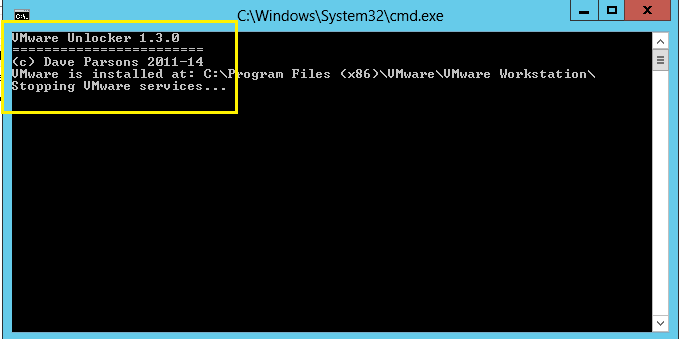
ii –Run VMware Unlocker i.3.0, right click install.cmd and run equally administrator..

3 – Adjacent, y'all need toexcerpt out theInstallESD.dmg from the Mac Os X ten.8 installation files.
— i recommend that you employ 7zip to extract theInstallESD.dmg…


4 – once you successfully excerpt the Mac OS X ten.8 installation files, browse to OSX installation folder and look for 2.hfs file and open this file with 7zip.

5 – in 7zip interface, browse to ii.hfs\install MAC OS X Mountain Lion\Install OS 10 Mount Lion.app\Contents\SharedSupport\ folder, in this folder you need to extract the InstallESD.dmg file…

6 – Next, we going to usedmg2img program to create a ISO from InstallESD.dmgto iso format…
— Open control prompt and blazondmg2img -i "path\installesd.dmg" -o "path\macosxsetup.iso"
— "path" depending on where you go on your MAC OSX installer files…

7 – Adjacent, nosotros need to extract thecom.vmware.fusion.tools.darwin.nix to become thedarwin.iso from nether\payload folder.

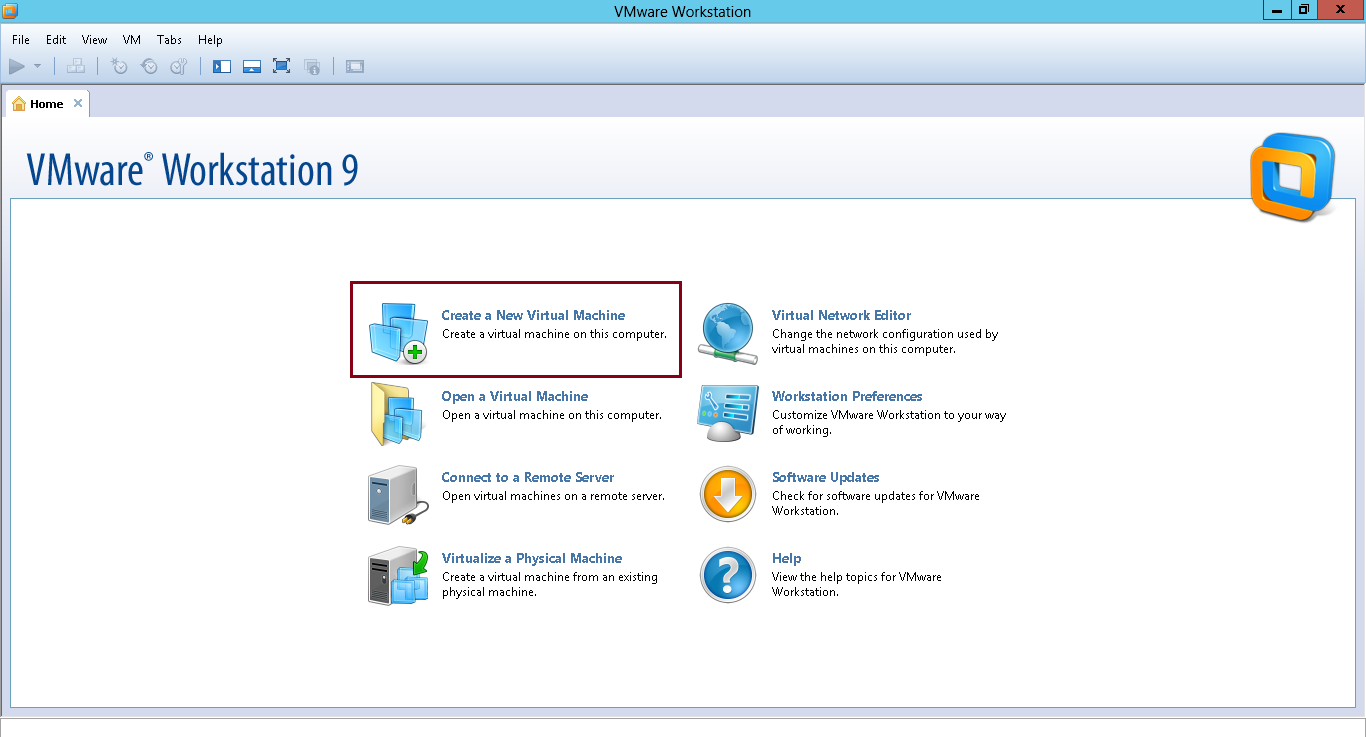
viii – Side by side, fire up your VMWare Workstation 9 and click Create a New Virtual Machine…
9 – on New New Virtual Machine Wizard box, click Typical (recommended) and and so click Next…

10 – Adjacent, Click Installer disc prototype file (iso): and click Scan button and look for macosxsetup.iso file that you extracted from the InstallESD.dmg… and then click Next to keep…

eleven – On the New Virtual Machine Magician box, clickApple Mac OS X and choose Mac Os 10 10.8 64-chip and click Next…

12 – In the Virtual machine name :, key in whatsoever name you lot adopt and you lot can locate whatever location for the Mac Os X to be installed…

13 – adjacent, under Specify Disk Capacity, i cull 80GB for my Mac Bone 10 hard deejay infinite and click Store virtual disk as single file and so click Next to proceed…

fourteen – Next, click Customize Hardware…

15 – on the Hardware box, i cull 4096MB (4GB) Memory, 2 processors and i delete floppy.. you tin can customize you own hardware specification depending on your Host specification…

16 – Next, click Power on this virtual automobile to proceed with our MAC OS Ten installation…

17 – If everything setup correctly, your MAC OS Ten will kick up nicely with Apple tree logo…

xviii – Adjacent, on the installation interface, click next push button to continue…

19 – Next, nosotros need to format our virtual drive before start installing the MAC Os 10,
— on the Os Ten utilities interface, click Deejay Utility and click continue…

20 – On the VMware, VMware Virtual S Media interface, click your Virtual Disk and and so click Erase tab, confirm that you lot chooseMac OS Extended Journaled every bit a format, so click Erase…

21 – Click Erase to proceed…

22 – Adjacent, after your drive successfully erase and formatted, click Disk Utility carte du jour and click Quit Disk Utility…

23 – Next, on the OS X Utilities box, click Reinstall OS X and click Continue…

24 – Next, on the Os X Mountain King of beasts interface, click Continue…

25 – click Agree…

26 – Click Agree again…

27 – Click installation Drive and click Install to proceed…

28 – until this stride, what you need to do is just wait for the installation to complete…

29 – it will take around 20 minutes for the installation to complete, but it all depend on your Host specification…

xxx – Later installation consummate with few restart, you lot will get Welcome page, choose your state and click Continue…

31 – Next, on the Select your Keyboard, but click Go on to keep…

32 – Next, on the Transfer Information to This Mac, click Non At present and click Keep…

33 – on the Enable Location Services, click Continue to proceed…

34 – Next, on the Apple ID page, i will skip this option for the moment ( y'all may fundamental in your Apple tree ID if yous have one) …

35 – On the Terms and Conditions interface, click Continue…

36 – Next, on the Create Your Computer Business relationship interface, key in all the necessary information and click Proceed…

37 – Adjacent, select Your Time Zone and click Continue….

38 – Finally, on the Cheers interface, click Start using your Mac…

39 – After your Virtual Mac OS X restart, don't exist happy yet… we however need to install VMware Tools (darwin.iso)… click VM menu, click Removable Devices, click CD/DVD (IDE) and click Settings…

40 – On the Virtual Motorcar Settings interface, click CD/DVD (IDE), then click Browse… in the Browse for ISO Image, click darwin.iso…

41 – On your Mac desktop, VMware Tools volition automatically popular up, and click Install VMware Tools to proceed…

42 – Side by side, on the Install VMware Tools, click Continue…

43 – Next, click Install to go along with the installation…

44 – Next, click Continue Installation…

45 – Side by side, click restart.. after your Mac restart, you will take a complete usable Mac Bone X running in your VMware…

Mac Os X 10.8 Download Vmware
Posted by: reesemoull1948.blogspot.com
Post a Comment